 |
| We planted our first cutting garden this season! Here is a photo that was taken in June a couple weeks after planting. |
 |
| We are happy to announce that it is producing flowers! |
 |
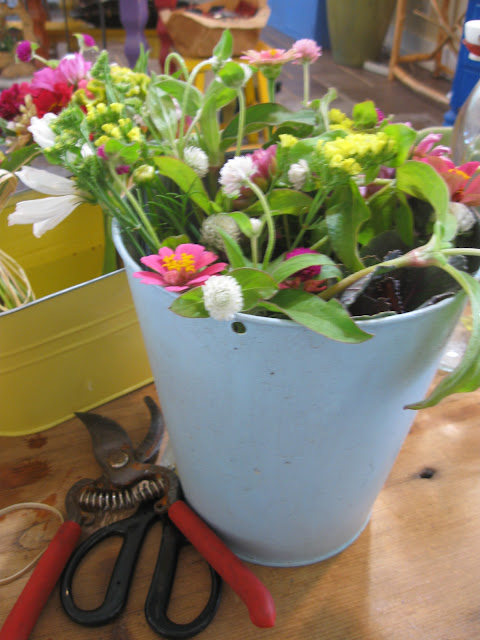
| I headed into the garden because I wanted to put together some hand-tied bouquets. |
 |
| We purchased some seed this winter, this is one of the many cool things we planted... cut flower Kale. |
 |
| Some other things we planted... statice, celosia cockscomb, cosmos, gomphrena, zinnia, dahlia and sunflowers. |
 |
| The first step in assembling a hand-tied bouquet is remove all of the foliage that would be submerged in water. |
 |
| Next take your first two stems and and cross one over the other. |
 |
| Continue adding flowers and crossing them over the last. |
 | |
| Rotate the grouping to get to a spot without flowers and keep adding to the bouquet. Continue to rotate and fill until the bouquet is complete. |
 |
| I like to use raffia to tie bouquets together. It has a clean but rustic look...very pretty. |
 |
| Make a knot right at the bottom of the leaves. Be careful not to tie to tight or too high. I like a simple firm knot. |
 |
| Take into consideration the size of your bouquet when cutting the stems. My bouquet is small so I am cutting them fairly short. |
 |
| Snip ends off in a clean cut. Watch out for sleeping pugs below!! |
 |
| There is something about a bouquet of fresh cut flowers in the summer that I love love! It is a perfect little gift to give to someone... |
 |
| Place your bouquet in a container of water and enjoy! |
No comments:
Post a Comment