Wednesday, October 26, 2011

Autumn Wreath

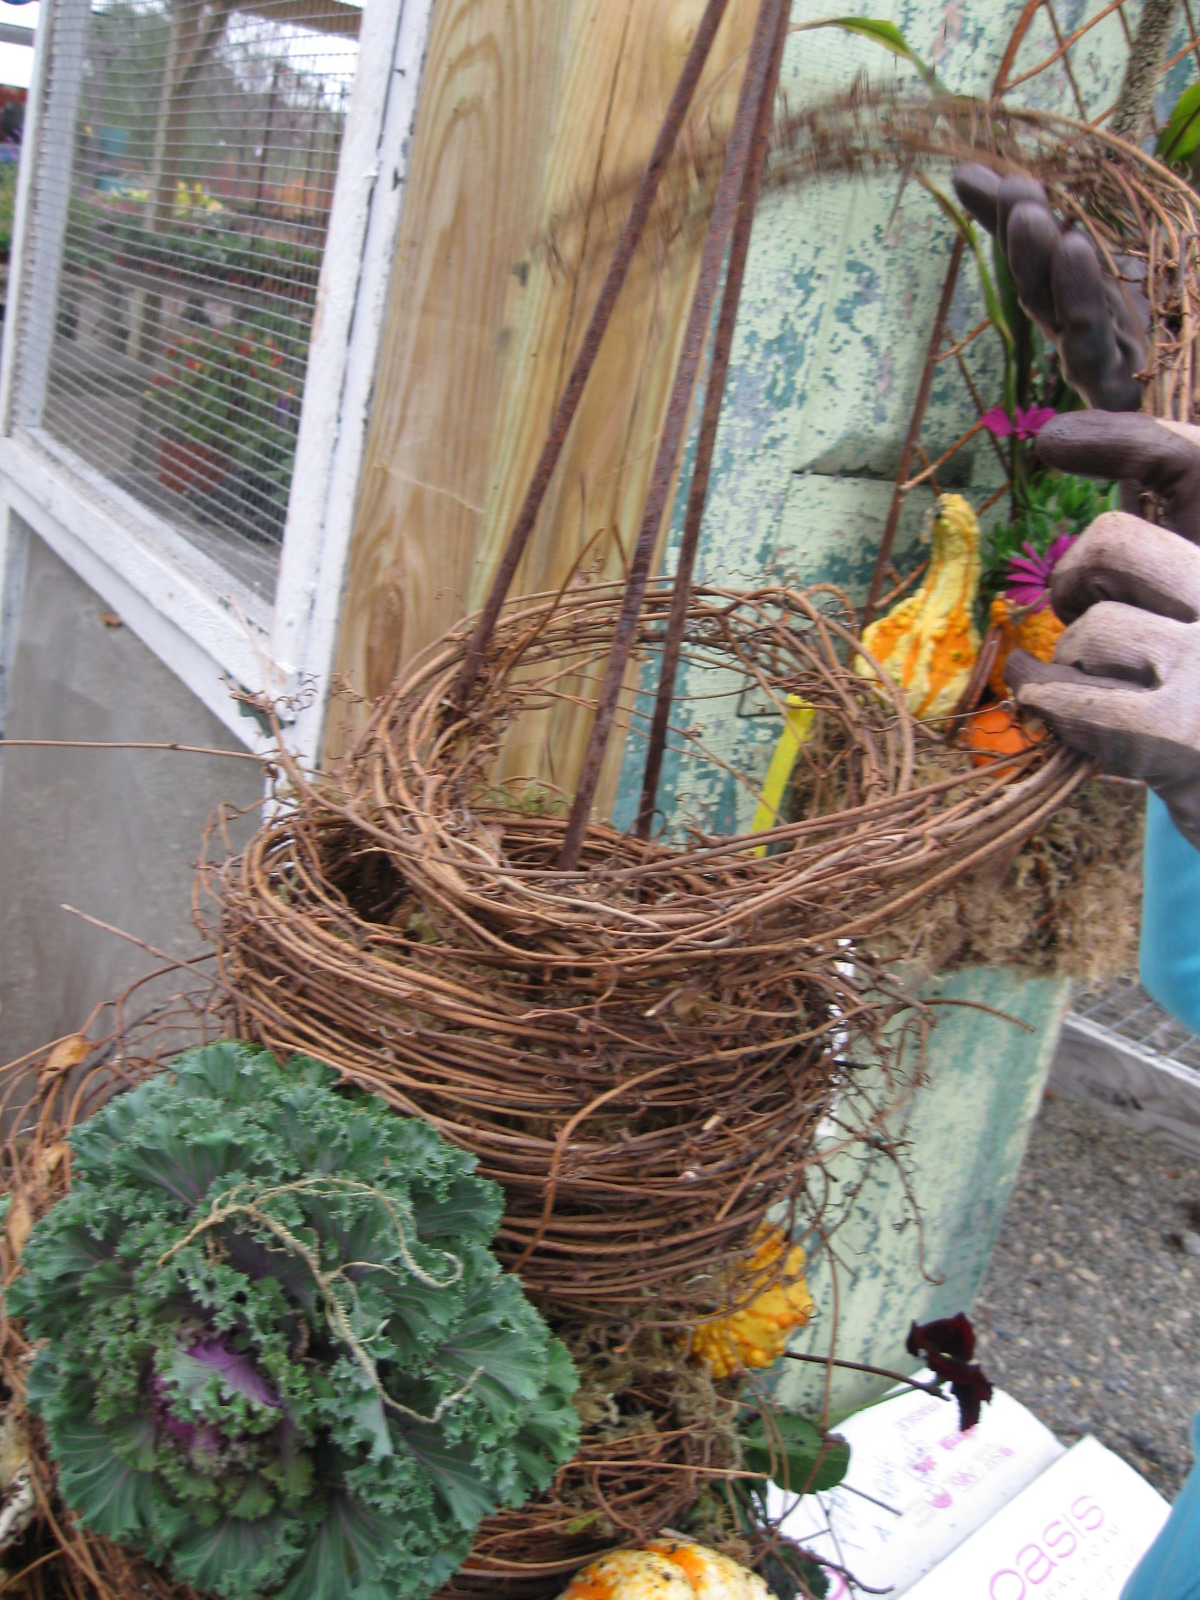
Feeling inspired by the season I decided to collect some fresh and dried foliage to put a wreath together.  These are the material that I used.  Pruners, a wire wreath frame, floral wire and an abundance of autumns bounty.
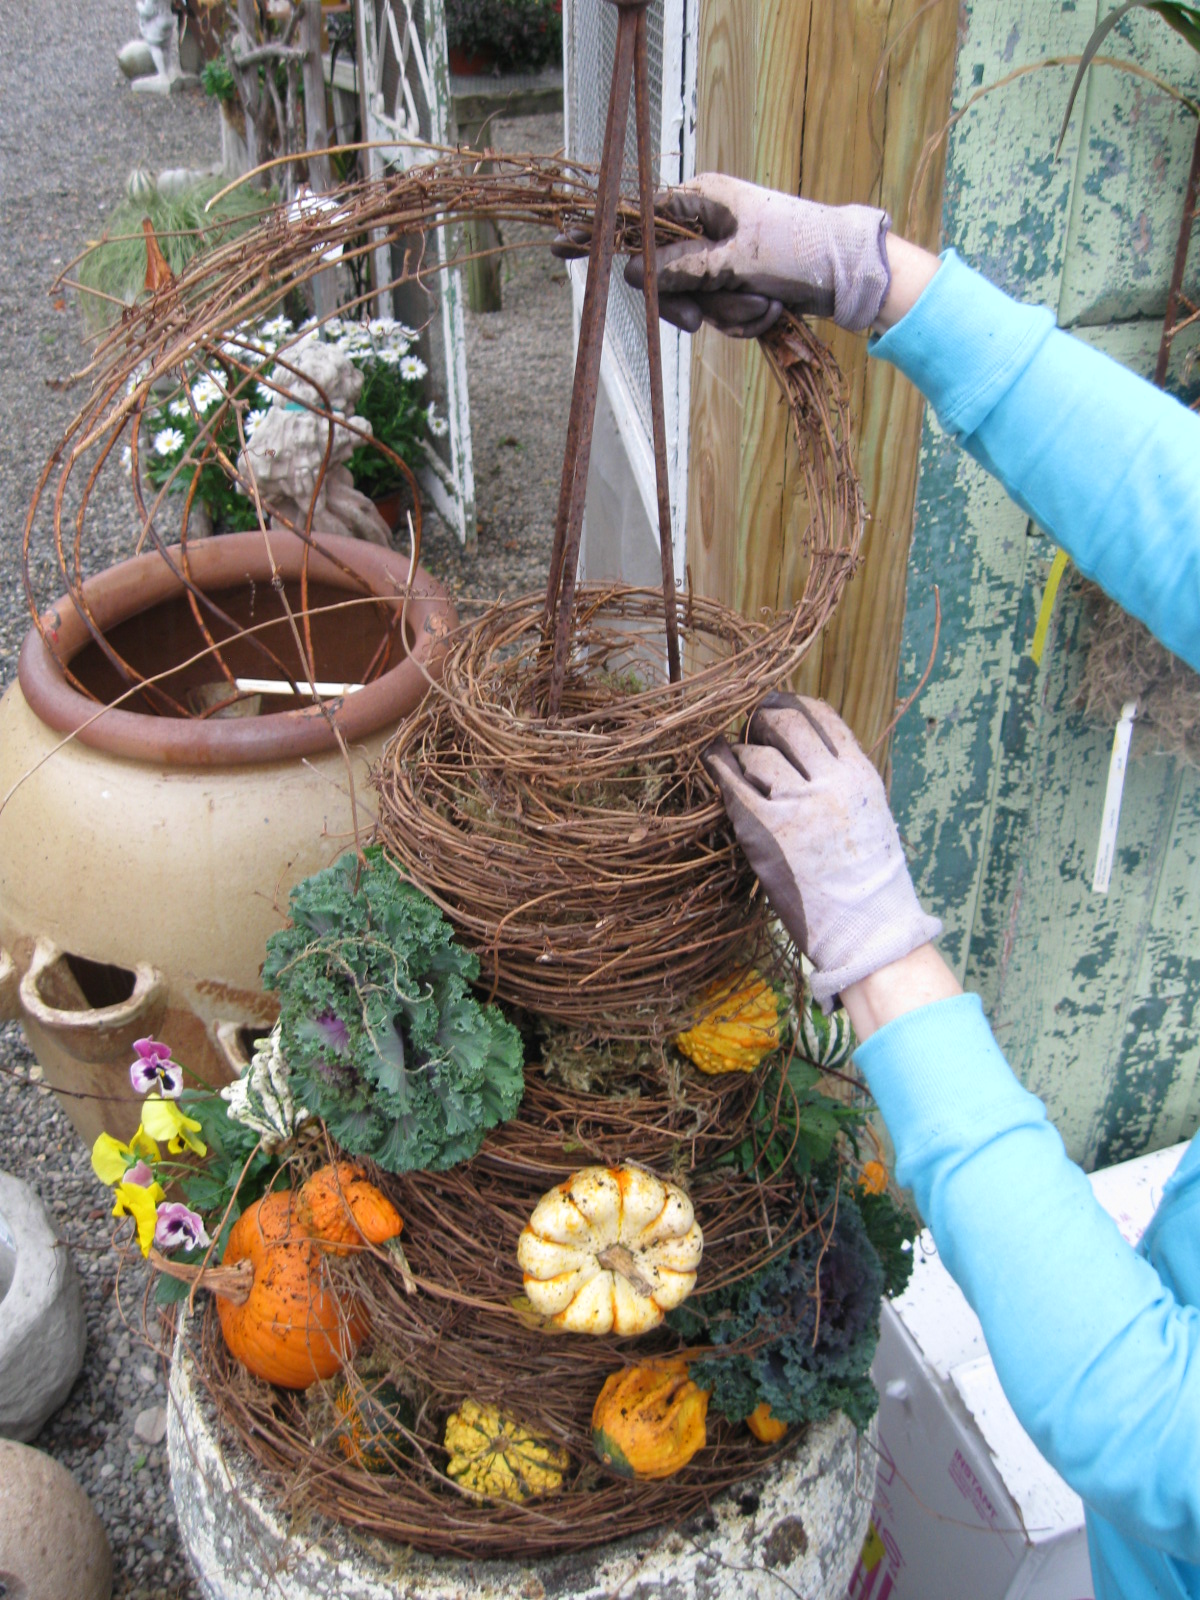
Spreading everything out on the table and making small piles makes it easier to constructing the wreath. I basically like using material with a cool texture and autumn hues like... curly twigs from the Harry Lauder walking stick, evergreen foliage such as white pine, cherry laurel, inkberry holly, chamaecyparis, hydrangea, millet flowers, dried joe pye weed flower, baptisa seed pods, purple beauty berry, dried russian sage, the seed heads from grasses such as muhlenbergia, little bluestem, chasmanthum.  These things are really easy to find this time of year.

The next step is wrapping the wire around the frame to secure it.
Then gather an assortment of foliage and arrange them into bundles.
Then place the bundle on top of the frame and wire it on.  Wrap the wire around the branches about 3 times pulling the wire nice and snug.
Continue to gather bundles, layer them one on top of the other, and wrap the wire.
Cut the branches down to manageable lengths as you go.
After going all the way around the frame, secure the wire on the back of the wreath frame and make a loop.
Hang it up and enjoy!  The birds probably will too!

Tuesday, October 18, 2011

Harvest Topiary

We would love to share with you how we created our Harvest Topiary.
First we found a beautiful pot that would match the scale of the topiary.
We collected the materials.  Including grape vine, bittersweet vine, an assortment of gourds, cabbage, pansies, lotus pods, and branches from viburnum, clethra, Japanese maple.  We also needed some soil, moss, and a metal obelisk to create the topiary.
After prepping the pot with soil we began wrapping the grapevine around the metal obelisk.
We added moss to the inside of the grapevine and planted things as we worked our way up the topiary.
We continued to wrap the vine around and around.
We added soil along the way.  That way we could plant some living things like cabbage and pansies.
In order to keep the gourds from falling off of the topiary, we pierced them with small wooden stakes. 
Here is a close up of the gourds in the topiary.
We continued wrapping and planting until we got to the top.
We used a small amount of brown wire to attach the grapevine to the top of of the metal obelisk.  Finally we put the finishing touches on. Which included our branches and berries of fall color. 

Wednesday, August 3, 2011

Fairy Garden

During the heat of the summer it's kind of fun to sit in the shade and use your imagination....


A fairy garden is a great way to express your inner child or even better create one with your favorite little ones!  The first thing in creating a fairy garden would be to find a container.  I prefer one that is a not to tall so that kids can look right into it.   For this fairy garden I used a whiskey barrel.
 
Fill it with soil and leave about 3 inches of space to the top of the container.  After collecting your fairy friendly materials (stones, moss, mushrooms, bark and plants) then you want to think about the layout.  I thought it would be nice to have a stone pathway that would lead the through the garden.  It was also important to plant some flowers and plants.  Keeping in mind they need to be very small.  I found some gomphrena plugs that didn't make it into the cutting garden and a little echeveria from our terrarium workshop, an asparagus fern, pin cushion plant and a variegated English ivy.

I also thought it would be cute to include this little house. From what I understand fairies love little jewels and sparkly things.  So with some spanish moss I created a tiny nest for our offerings.


With a hot glue gun I glued some legs onto this table.  So they can sit and rest their little fairy wings.


This little trellis was a fun addition to grow some mini vines on.


We offered a pool/ small terricotta saucer for them to cool off in. 


To finish it off and give it a natural feel we placed some moss on top of the soil.  Don't forget to water! So far our young Calgo customers and have really enjoyed the the garden!  We hope the fairies and garden gnomes do as well!


Tuesday, July 19, 2011

The Garden Party

Here are some shots from the garden party that was held at Calgo this past Sunday. It was a beautiful day! If you are looking for a location for a special event keep us in mind! Our farmhouse, patio and nursery make a perfect backdrop to ensure a memorable occasion!


Monday, July 18, 2011

The Barn

I have to dedicate a post to the Barn at Calgo Gardens. I have been posting about the garden center and plants that surround Calgo but the Barn is the heart and soul of the business.

It is a garden gift shop that is an eclectic world of whimsical and functional art—jewelry, furnishings, clocks, mirrors, terrariums, birdhouses and more...

that is made from earthly elements of glass, wood, metal and stone.

everywhere you look you will smile.

Tuesday, July 12, 2011

Simple Hand-tied Bouquet

 We planted our first cutting garden this season!  Here is a photo that was taken in June a couple weeks after planting.

We are happy to announce that it is producing flowers!
I headed into the garden because I wanted to put together some hand-tied bouquets.
We purchased some seed this winter, this is one of the many cool things we planted... cut flower Kale.
Some other things we planted... statice, celosia cockscomb, cosmos, gomphrena, zinnia, dahlia and sunflowers.
The first step in assembling a hand-tied bouquet is remove all of the foliage that would be submerged in water.
Next take your first two stems and and cross one over the other.
Continue adding flowers and crossing them over the last.
Rotate the grouping to get to a spot without flowers and keep adding to the bouquet.  Continue to rotate and fill until the bouquet is complete.
I like to use raffia to tie bouquets together.  It has a clean but rustic look...very pretty.
Make a knot right at the bottom of the leaves.  Be careful not to tie to tight or too high.  I like a simple firm knot.
Take into consideration the size of your bouquet when cutting the stems.  My bouquet is small so I am cutting them fairly short.
Snip ends off in a clean cut.  Watch out for sleeping pugs below!!
There is something about a bouquet of fresh cut flowers in the summer that I love love!  It is a perfect little gift to give to someone...
Place your bouquet in a container of water and enjoy!